VS Code 1.107 Released! Isolated Background Agents, Org Level Custom Agents
![]()
Microsoft Visual Studio Code announced the November release, version 1.107, yesterday for Windows, Linux, and macOS users.
The new release of this free open-source code editor integrated the agent sessions into the Chat view. When working in a workspace, it only shows sessions related to the current workspace, while all sessions across workspaces are shown when you are in an empty window.
The agent sessions can be displayed either in “compact view” that lists 3 most recent sessions along with “Show All Sessions” button, or in “side-by-side view” when Chat View is wide enough. While, there’s an orientation setting to set to always stacked (compact view), always side-by-side, or switch automatically according to Chat View width.
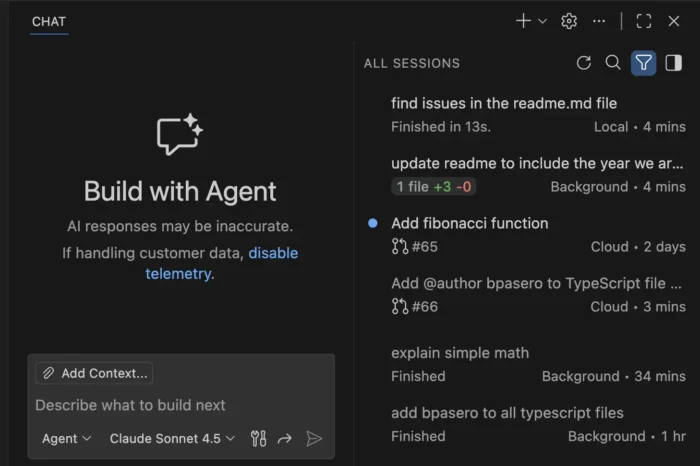
The local agent now continues running in the background when you close the local chat session. And, it’s able to see the status of the running agent in the sessions list and switch back to the session at any time.
When creating a new background agent, user can now choose to run in either the current workspace or a dedicated Git worktree. And, when running a background agent in a worktree, the changes is isolated in a separate folder, thus you can run multiple background agents simultaneously without conflicts.
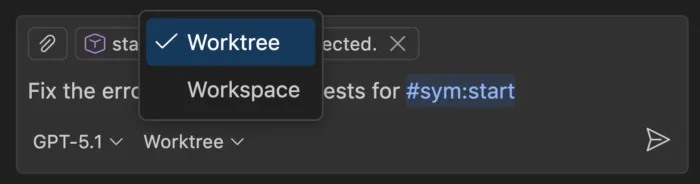
The background agents now support multiple context attachment types. You can attach selections, problems, symbols, search results, git commits, and more to any prompt.
Other Agent HQ changes include:
- Introduce new “Continue in” option to continue a local chat with a background or cloud agent seamlessly.
- Define custom agents at the organization level for your GitHub account (experimental).
- Bring your own custom agents into Background Agents (experimental).
- Run agents as subagents (experimental).
- Reuse your existing claude skills (experimental).
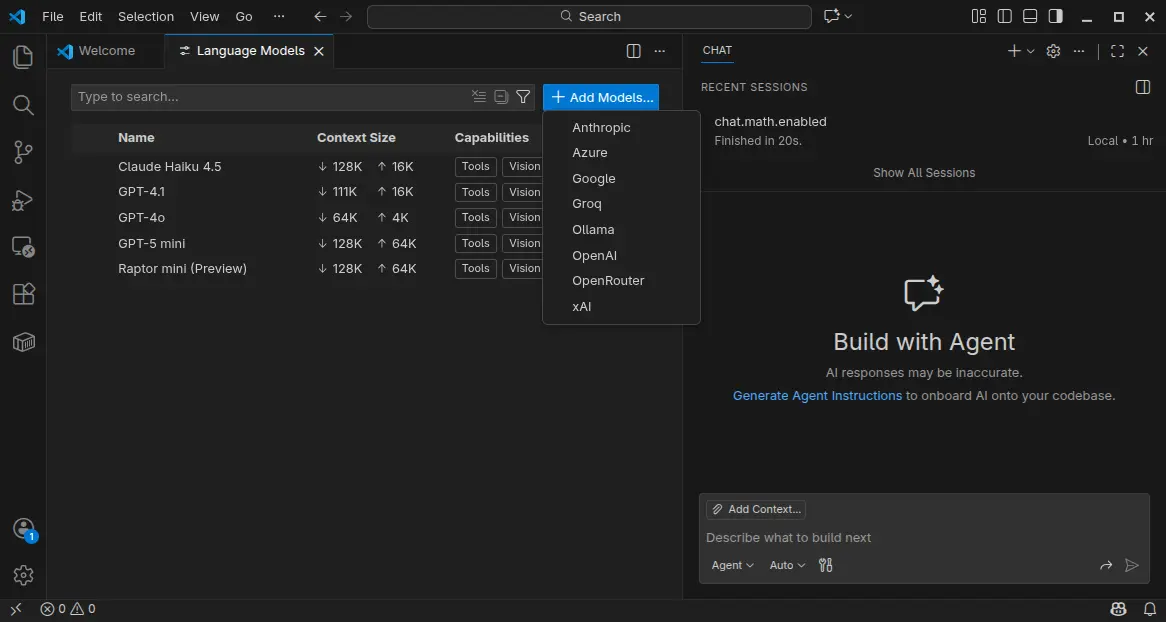
VS Code 1.107 also introduced Language Models editor which provides a centralized place to view and manage all available language models for chat in VS Code.
It can be opened either from the model picker in chat or via the Command Palette with Chat: Manage Language Models. And, it can manage model visibility and add more models.
Moreover, the textSearch tool now supports searching in ignored files/folders specified by files.exclude or search.exclude settings or .gitignore files. And, Azure model provider now uses Entra ID authentication as default.
Other AI related changes include:
- Introduce collapsible chat sections for non-reasoning chat output.
- Ask for confirmation when chat attempts to edit sensitive files.
- New auto approve option to allow all future commands for the session.
- Rich terminal output in chat.
- Bind keyboard shortcuts to each custom agent individually.
- And more.
Besides AI changes, VS Code 1.107 also added support the latest revision of the MCP specification, and provide GitHub remote MCP Server as a built-in MCP server (Preview).
It as well added Intel Macs and Debian-based Linux Distros support for Microsoft Authentication, enabled Terminal Suggest for stable users, introduced new model for next edit suggestions.
Other changes include:
- 3-finger swipe on trackpad to navigate between editors in macOS.
- Preview next edit suggestions outside the viewport.
- Attach variables, scopes, and expressions to chat context.
- Classic Microsoft authentication no longer available.
- Rename suggestions for TypeScript.
- Ability to disable automatic hover popups in the editor.
- Add Stashes node in the Source Control Repositories view (Experimental), allows to see the complete list of stashes, view, apply, and pop each stash.
Get Visual Studio Code 1.105
For more about the new release, as well as download links for Windows, macOS, and Linux, go to VS Code website via the link below:
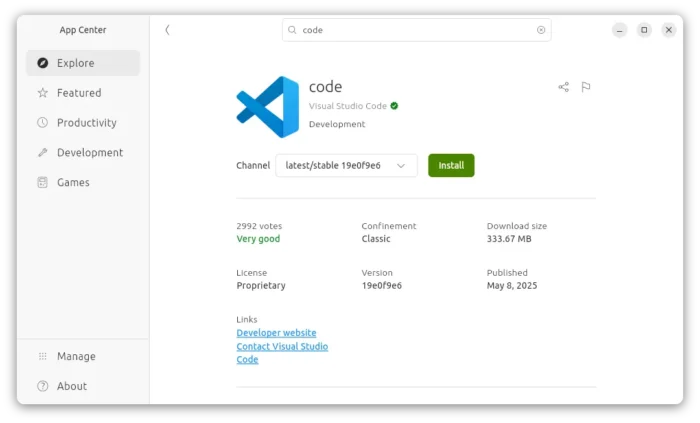
For Ubuntu users, besides download & install the deb package from the link above, there’s also official Snap package available to install in App Center (or Ubuntu Software for 22.04-).
NOTE: The source code for VS Code is open-source, but the packages above are proprietary freeware.
For open-source package, there’s a community maintained flatpak package is also available for choice. See this guide for how to install them in Ubuntu.